

LCD Screen
Some trail cameras have small LCD screens on them that allow you to view your photos no matter where you are. The problem is that these screens are tiny and you will not be able to see any details.
Instead of spending money on cameras with built-in screens, consider buying an SD card adapter for your phone. These adapters are cheap and will not only allow you to view your photos on a larger screen but will also allow you to save the photos to your device.
Cellular Service
Internet-connected trail cameras have been around for a while now and offer a unique benefit. These cameras send the photos they take straight to your phone. Keep in mind that you will have to pay a monthly fee for each camera, and you must have cellular service where the camera is located.
How to Set Up Your Trail Camera
Setting up your trail camera only takes a few minutes and is an important part of getting both accurate information and the pictures you want. Take the time to read the instructions to maximize your chance of capturing stellar photos from the start.
Set Date and Time
After installing the batteries and SD card, you should set the date and time. The date and time are important when you view your photos. This is especially crucial if you want to go out when animals are showing up. If you use your camera before setting the date and time, you will only be able to guess the day and determine the time based on sunlight.
Choose Picture or Video
Trail cameras have settings for the number of pictures in a given time so they only take one photo for a set number of seconds. Your camera may also have a record setting where it will take short video clips. Test these functions to decide what works best for you.
Trail Camera Mistakes
Trail cameras are relatively simple devices that anyone can set up by simply following the instructions. However, there are some common mistakes that many people make when they first start using trail cameras.
Forgetting to Check the Battery
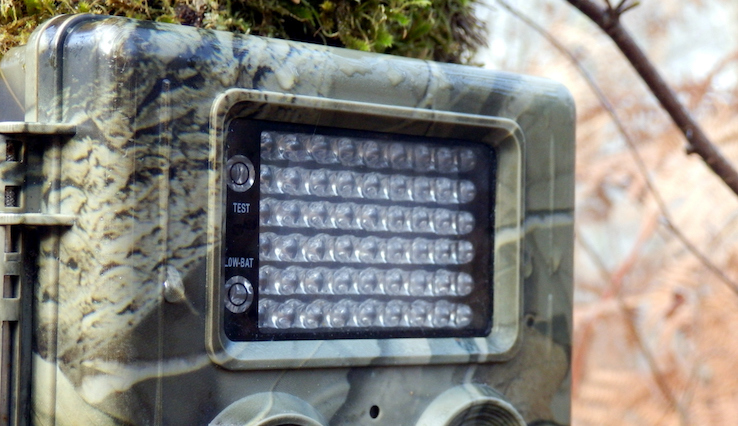
Every time you check a trail camera you should also check the power level. Most cameras have a small screen on them that displays the remaining battery level. Although batteries in cameras last a long time, they should be changed when they start getting low to ensure your camera continues operating properly.
While checking the battery level is important, it is equally necessary to use quality batteries, especially if your camera is used during the winter months. Cold weather is particularly hard on batteries and can significantly shorten their useful life.
Using a Small SD Card
A large SD card is not a requirement for trail cameras, but one that is only a couple of gigabytes will fill up quickly. Keep in mind that some trail cameras have maximum memory limits and may not work with larger cards. To make sure, check the user manual for your camera.
The amount of memory determines how much content you will be able to store. If you do not plan on checking your camera often, go with more memory.
Using the Wrong Type of Camera
While all trail cameras are different, there are some cameras that you should avoid. Ideally, you will want a camera designed for outdoor trail use. This will give you all of the features you need from the start, and you can use it in wet and dry environments.
Testing Before Setting Up
Nothing is more frustrating than placing your camera only to go back and find that there are no pictures on it. It’s best to test your camera before using it the first time. Testing beforehand will allow you to work out any problems before leaving the camera alone for a longer period.
Poor Placement
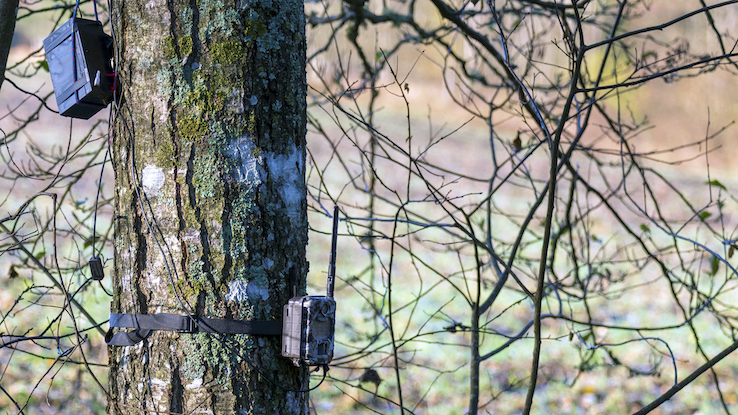
Trail cameras have sensors that are designed to go off when motion is detected, and each camera is different. Finding the perfect distance can be a challenge, but it’s arguably the most important part of placing your camera.
Each camera has a different shoot range, but it should be three or four feet off the ground to make sure that smaller and larger animals are caught on camera.
Not Securing the Camera
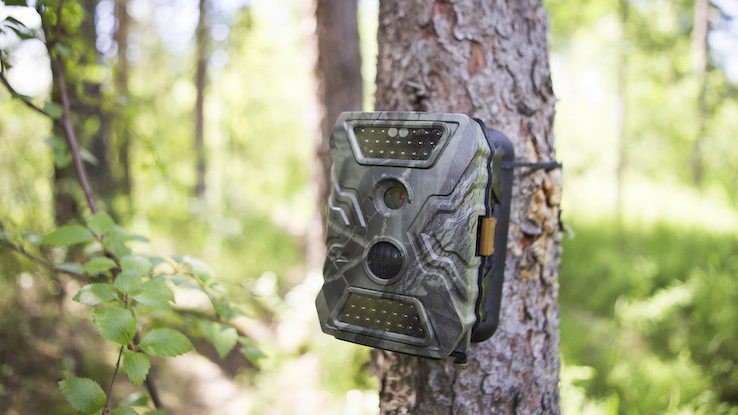
Critters in the woods are curious. They love to investigate things, and trail cameras are no exception. When attaching your camera, you should place it on a post or tree and secure it with large zip ties. After it is up, give it a few tugs to make sure that nothing can knock it down.
Why Use a Trail Camera?
Trail cameras are great for watching animals, but they have other uses as well. They are commonly used by hunters to watch what animals are moving around and at which times.
For those that are not avid hunters, a trail camera setup is a great way to simply watch animals on your property. The timestamps on images can help you determine when animals are about so you can go out and watch them yourself.
Another growing use of trail cameras is for security; a trail camera is an affordable way to watch your property. It’s also an effective alternative to expensive camera systems. Best of all, there is no complex installation, and you can take them with you wherever you need to go.


